SendGrid
Trigger emails in SendGrid from Regal's Journey Builder
This guide describes how you can use Regal's Journey Builder to send emails from SendGrid. You can use Regal's Journey Builder to orchestrate comms within Regal (e.g., triggered SMS, triggered call tasks) and outside of Regal (e.g., triggered marketing email). The advantage of doing so is to have one canvas to visualize and orchestrate the customer journey.
Prerequisites
In order to send emails from SendGrid, must have a SendGrid account with a connected sending domain.
Create Email in SendGrid
In order to send an email through SendGrid, you first need to set up your email in SendGrid:
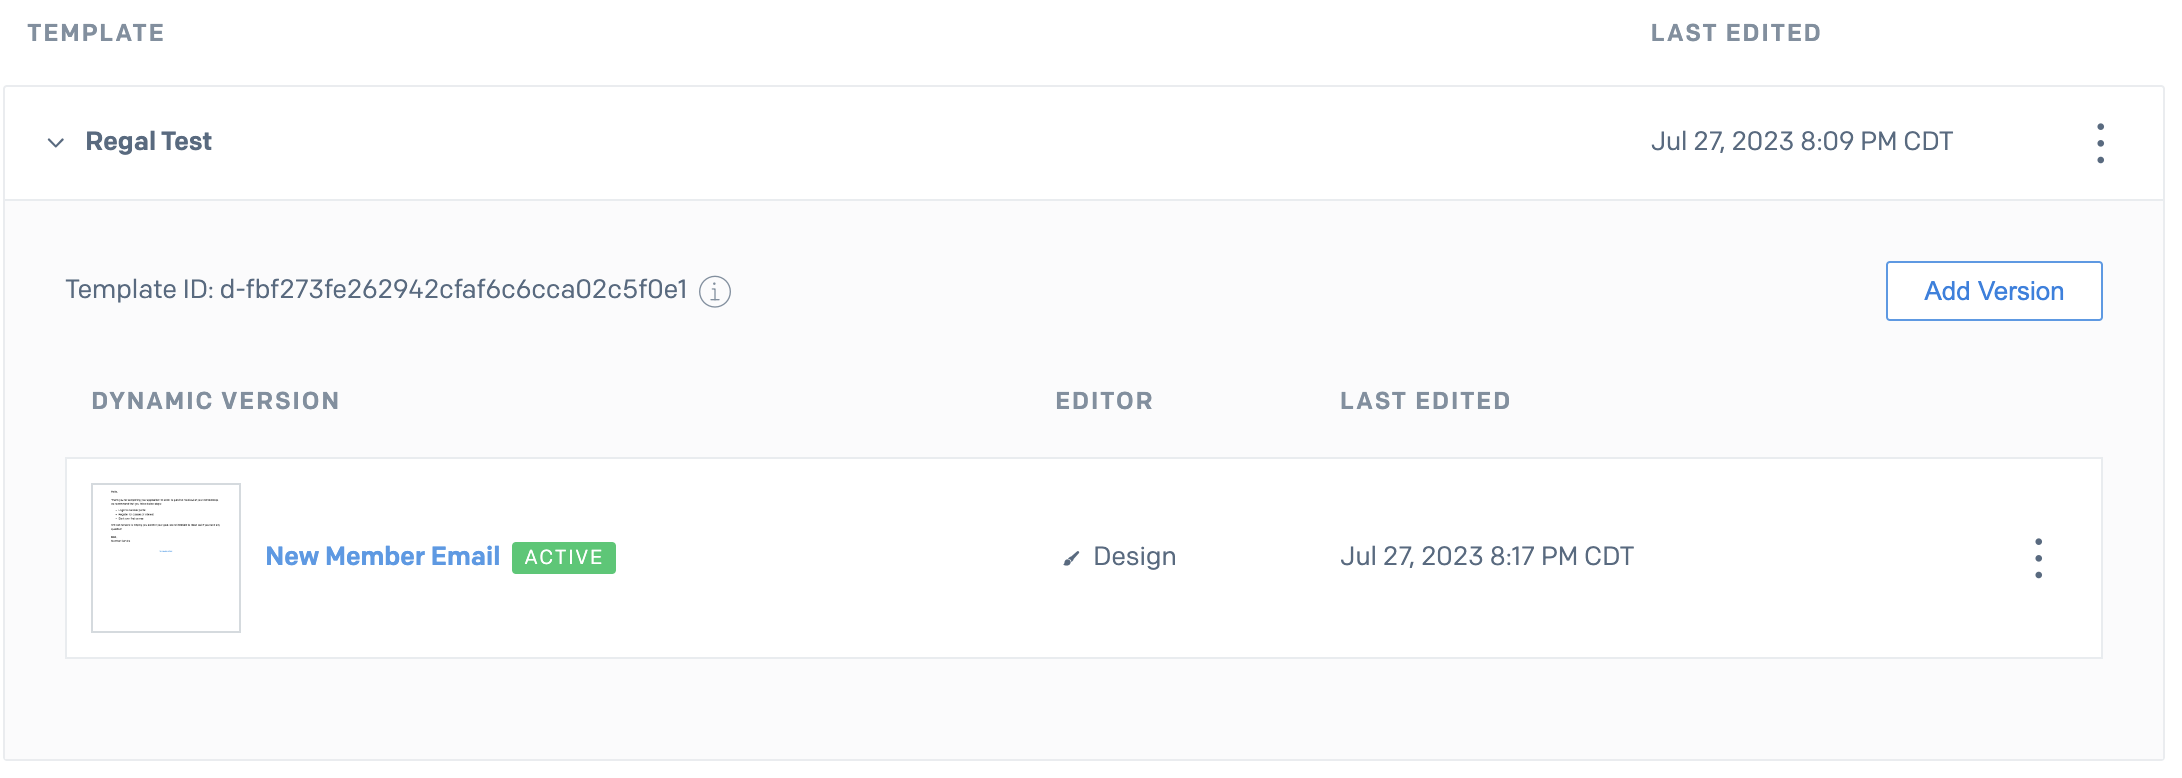
- Set up a dynamic template for the content and design of the email you want to send. Having a template allows you to have maximum flexibility of the content.
Generate API Key in SendGrid
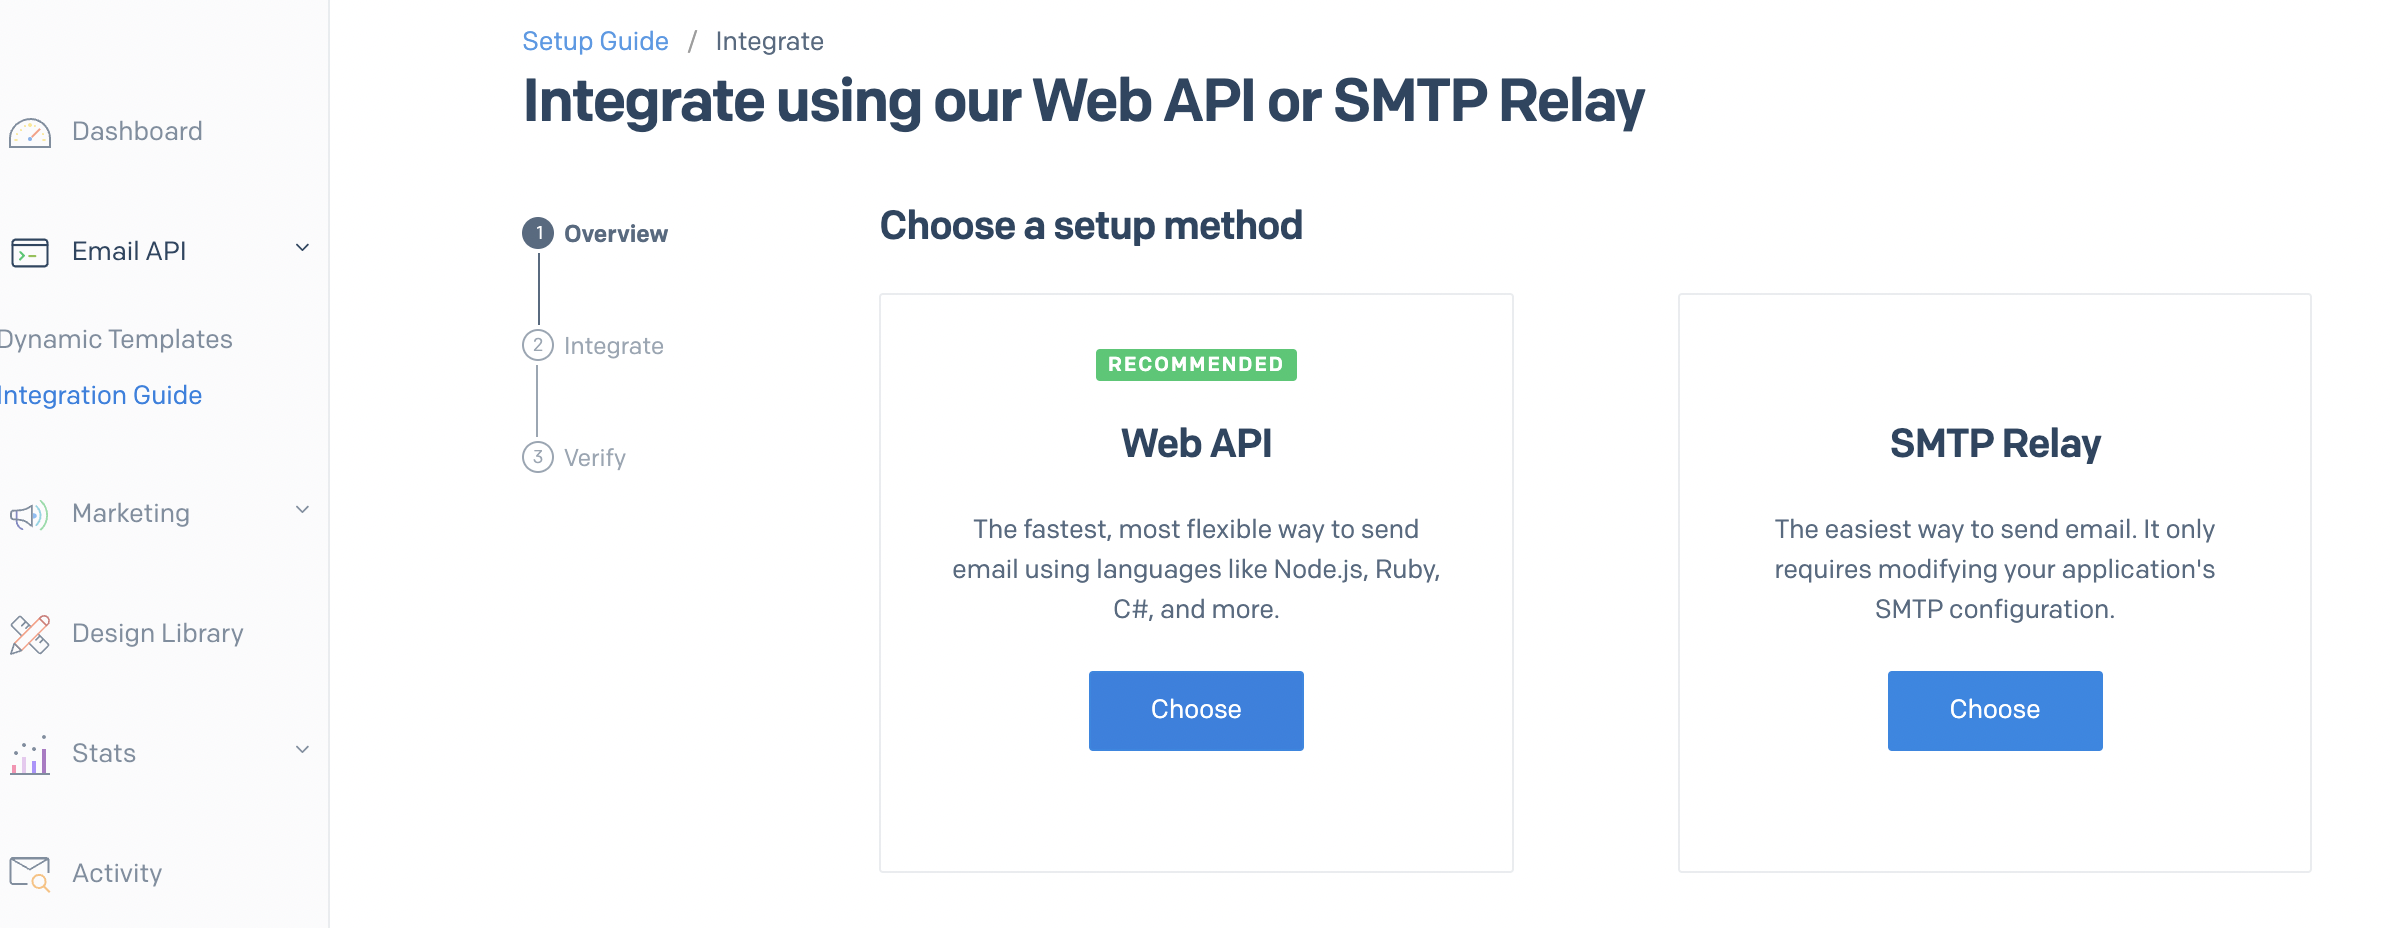
In your SendGrid account, navigate to Email API tab > Integration Guide.
- Select the Web API option
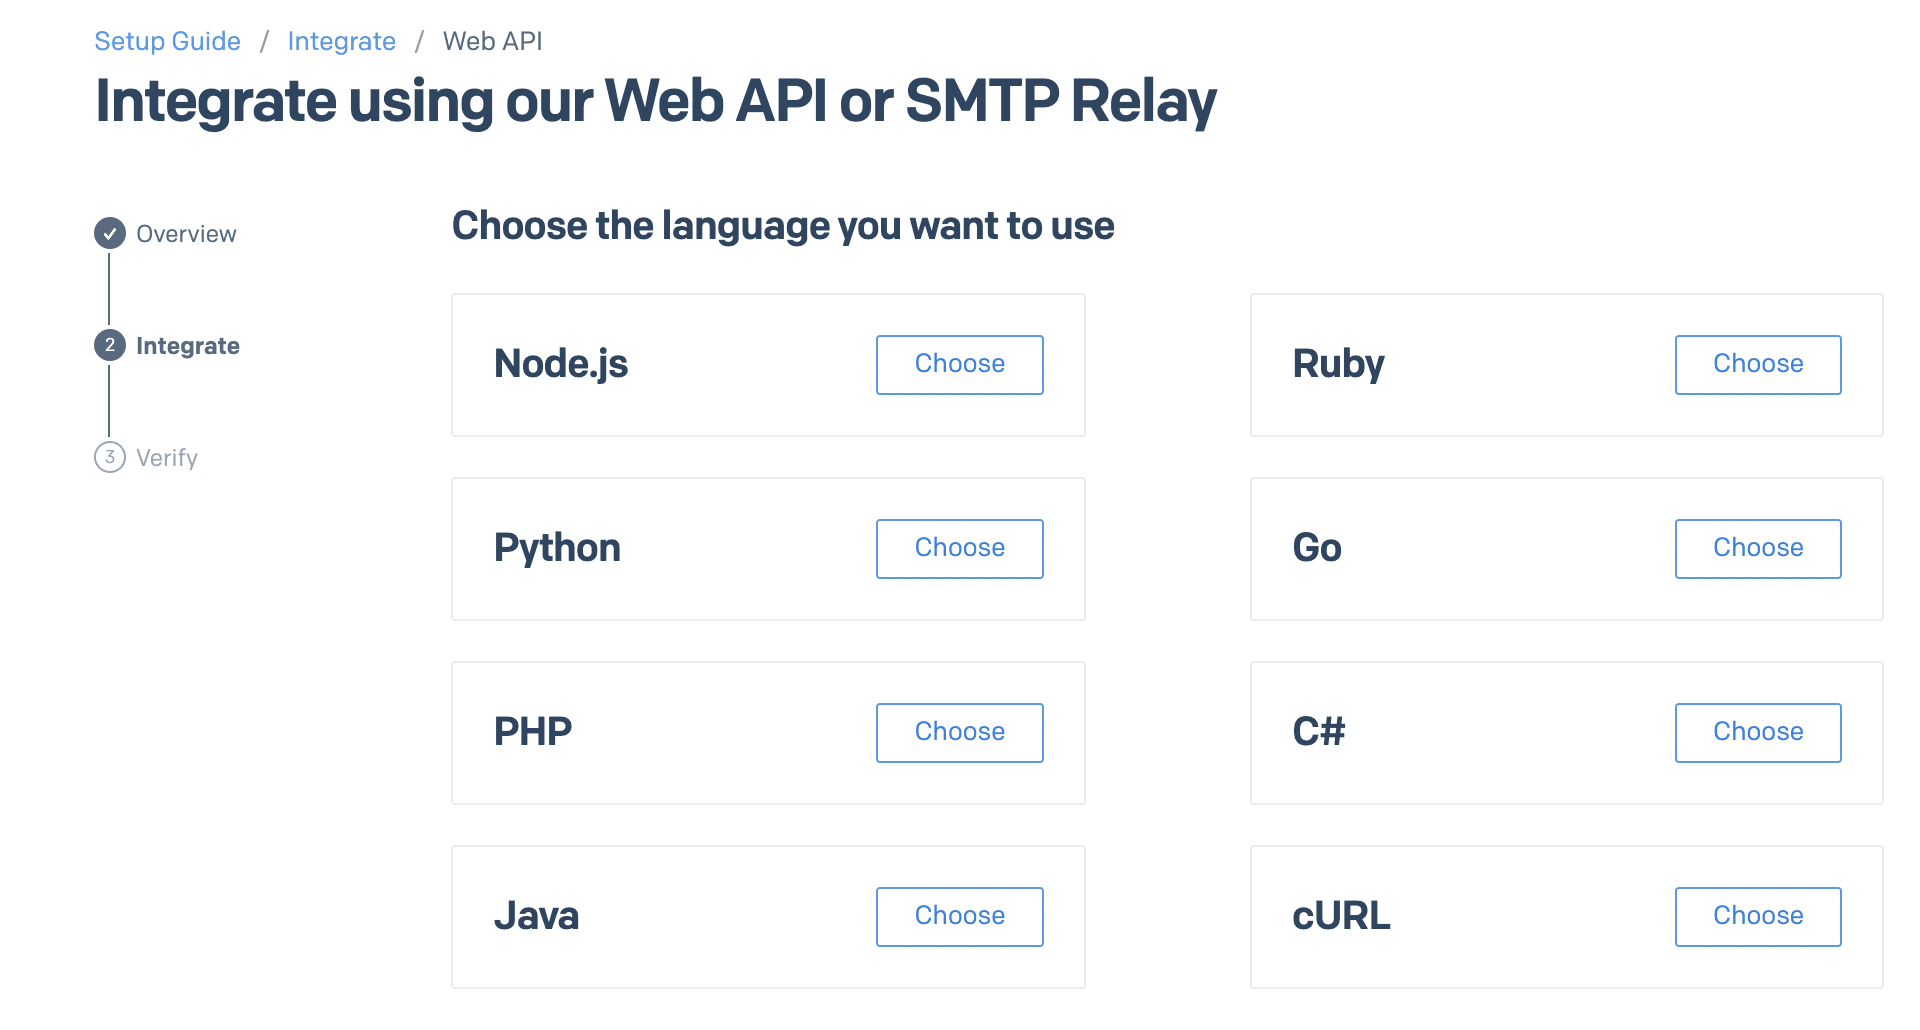
- Select cURL as the language to use
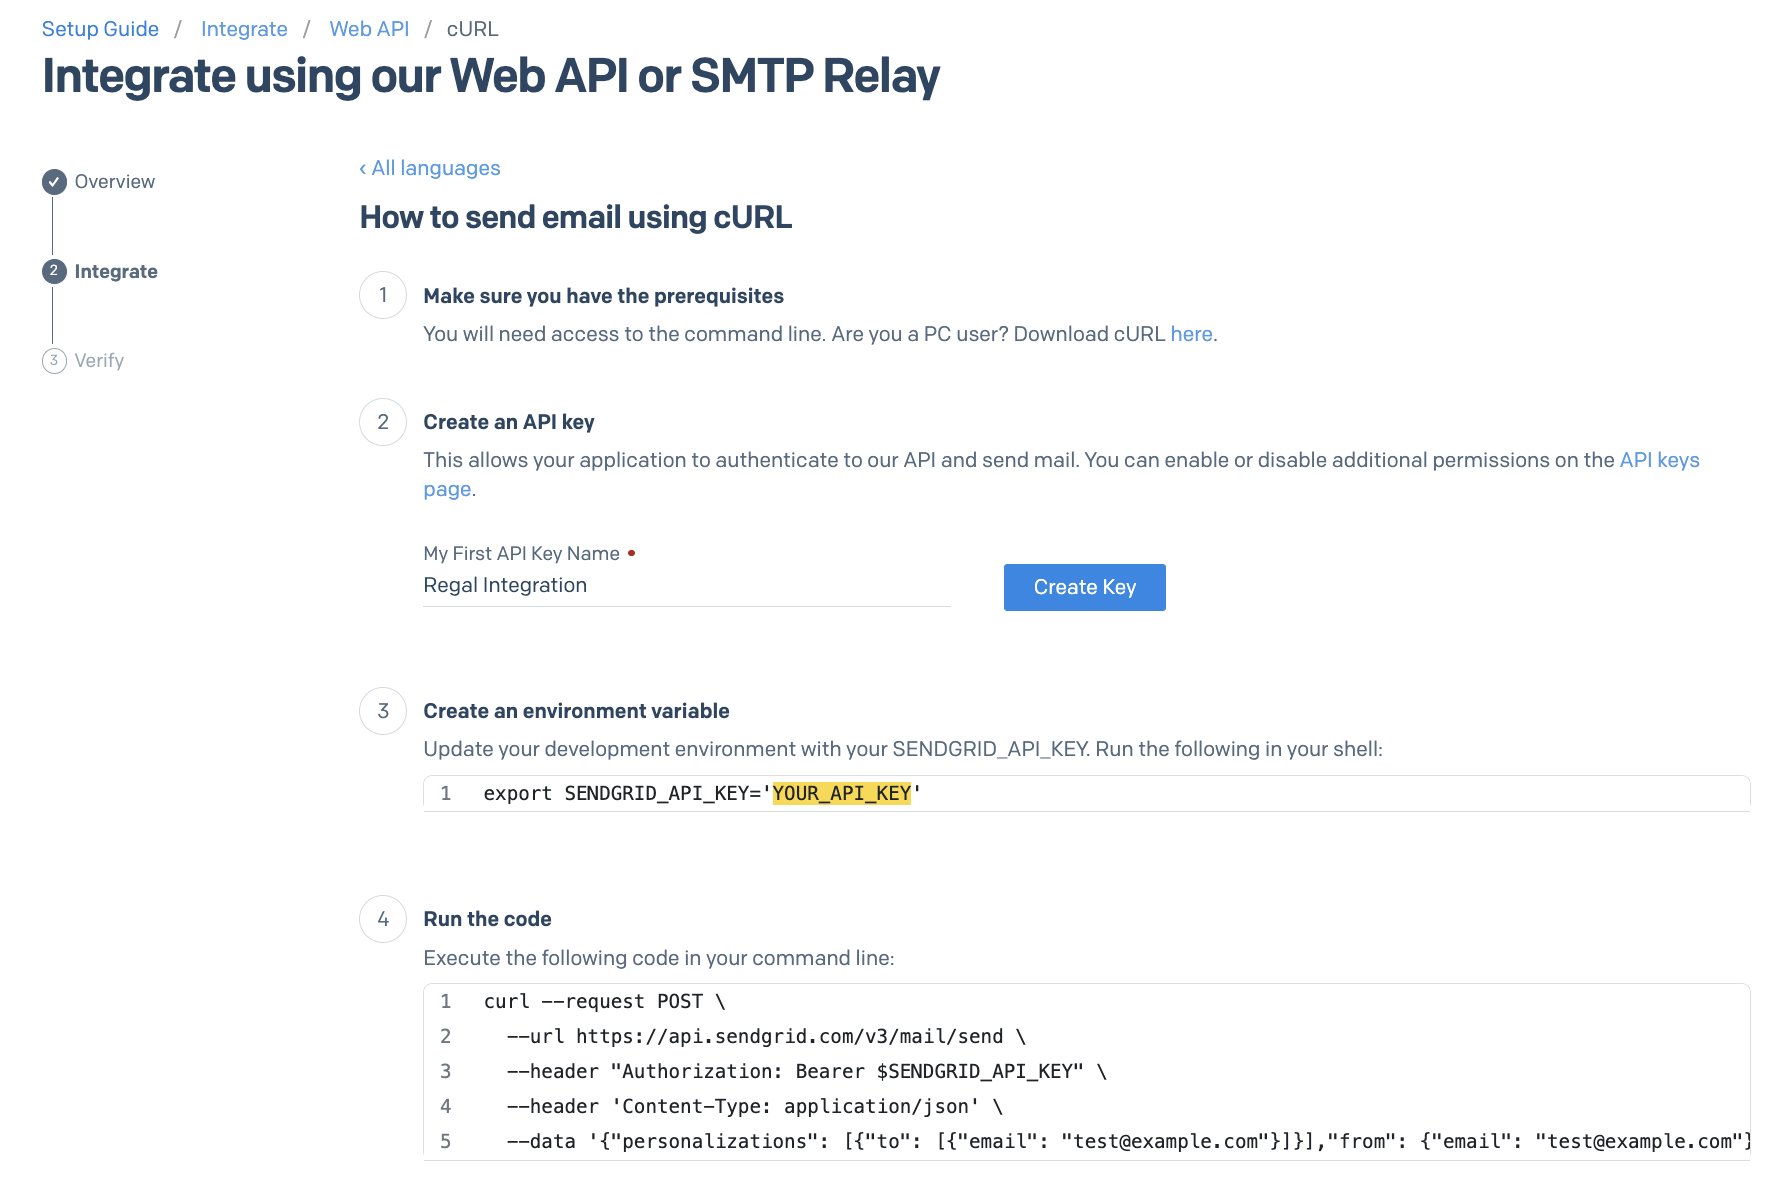
- Name your API key something like "Regal Integration". Then click "Create Key". Hold onto this - you will need it as the Authorization key to add to the Journey webhook in Regal.
Regal Journey Setup
Journey Setup
Using the API key and email template you created above, we can now trigger emails using Regal's Journey Builder. The below Journey shows an example with an SMS + Email outreach in Regal for a New Member event. For the email to be sent, you will need use a journey webhook node to send the request to SendGrid.
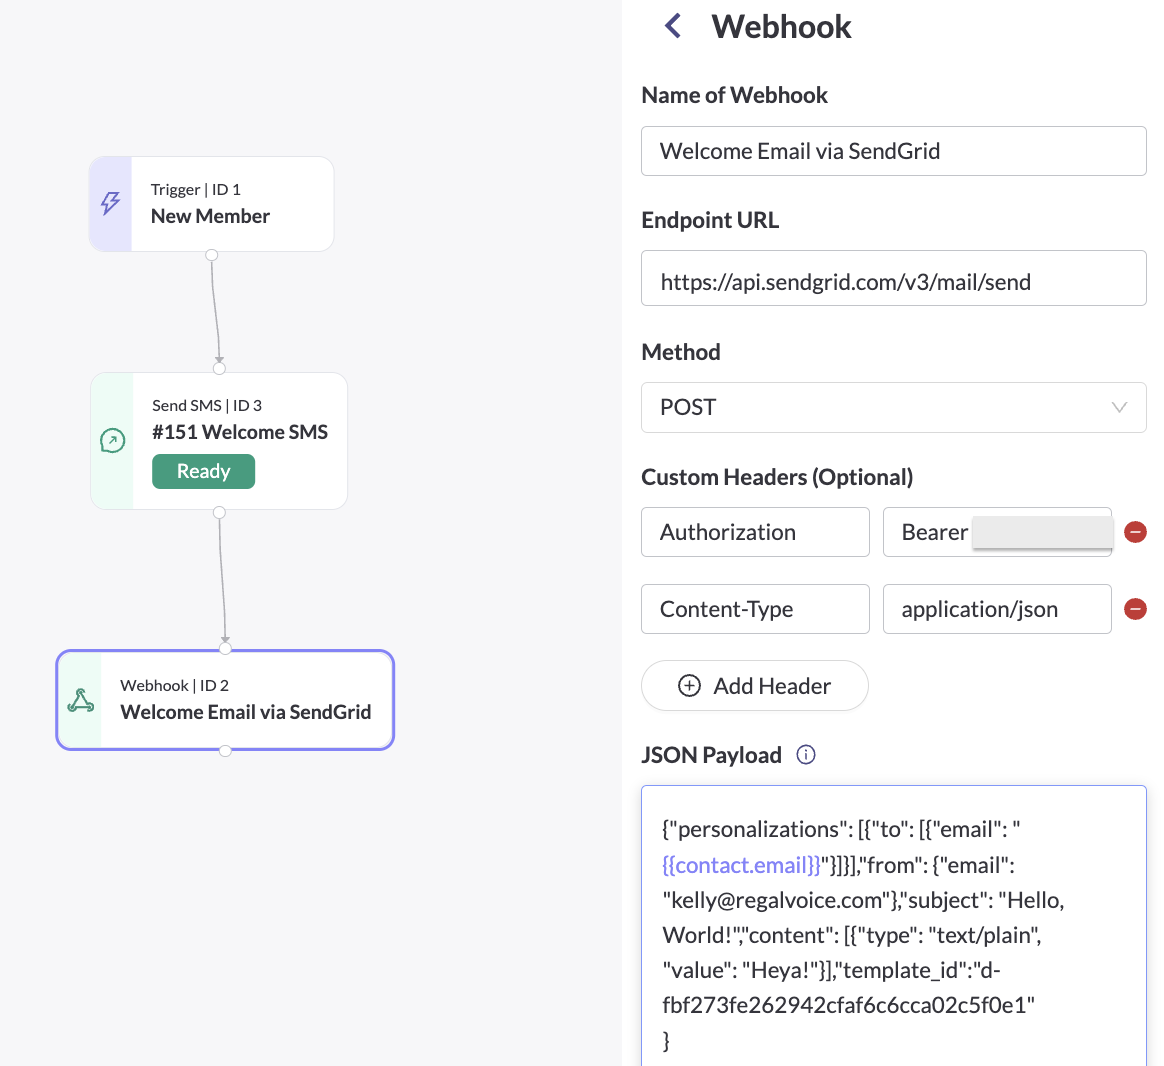
Webhook Node
Webhook Setup
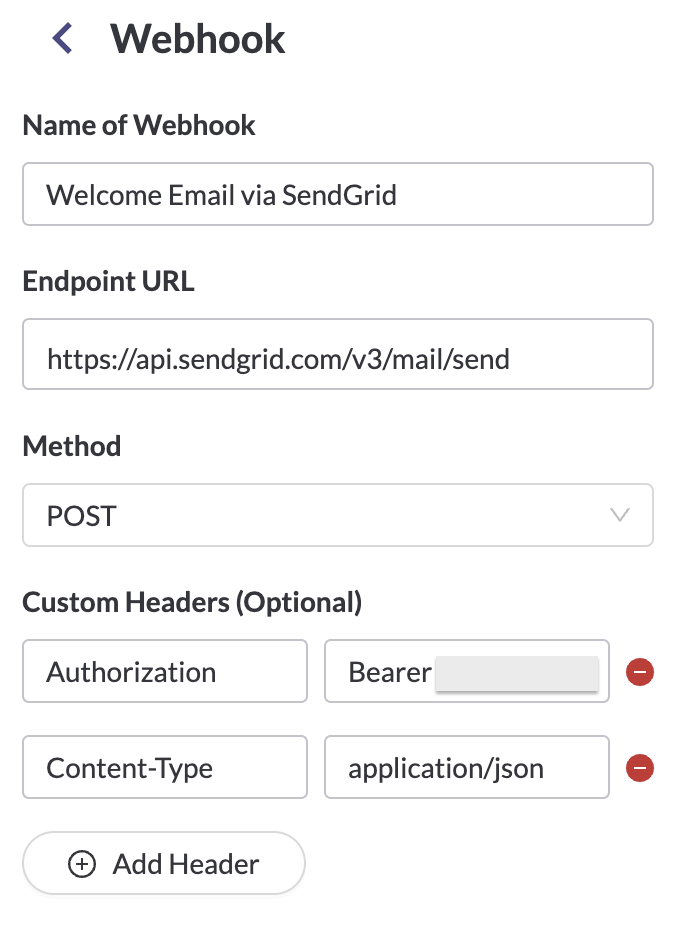
You will set up a POST request to SendGrid with the API key you generated in SendGrid.
- Endpoint URL: Add the SendGrid mail endpoint: https://api.sendgrid.com/v3/mail/send
- Method: Select POST method
- Headers:
- "Authorization" should have
Bearer [insert your generated API here]in the input - "Content-Type" should have
application/json
- "Authorization" should have
Webhook JSON Input
- Start by copying the below JSON payload into the webhook input area
{
  "personalizations": [
    {
      "to": [
        {
          "email": "{{contact.email}}"
        }
      ]
    }
  ],
  "from": {
    "email": "YOUR SENDING EMAIL"
  },
  "subject": "Hello, World!",
  "content": [
    {
      "type": "text/html",
      "value": "Heya!"
    }
  ],
  "template_id": "d-fbf273fe262942cfaf6c6cca02c5f0e1"
}
- Replace the from email with your sender email where it says "YOUR SENDING EMAIL". Make sure to leave the double quotes.
- For the "template_id" copy the template ID from SendGrid of the email you want to trigger and replace that in the d-fbf283.... value in the body of the JSON you copied.

- Leave the subject and content as is in the payload. The content of the template will replace the "subject" and "content" specified in the payload. However, the payload requires you keep the subject and content fields as is, so don't remove those.
- Make sure there are no formatting errors, then save your webhook.
Trigger Journey to Test Email
- Set your Journey as Live.
- Trigger the Journey using the specified trigger event, which is "New Member" in our example Journey. Send a payload like the below to the Regal custom events endpoint or through Segment, for example to trigger the journey (or use a Regal event):
{
  "traits": {
    "email": "[email protected]"
  },
   "name": "New Member"
}
To trigger SendGrid email for a contact, contact must have email in Regal
The contacts you trigger your journey for must have a valid email address in Regal. That is what will be used to know who to send the email to in SendGrid.
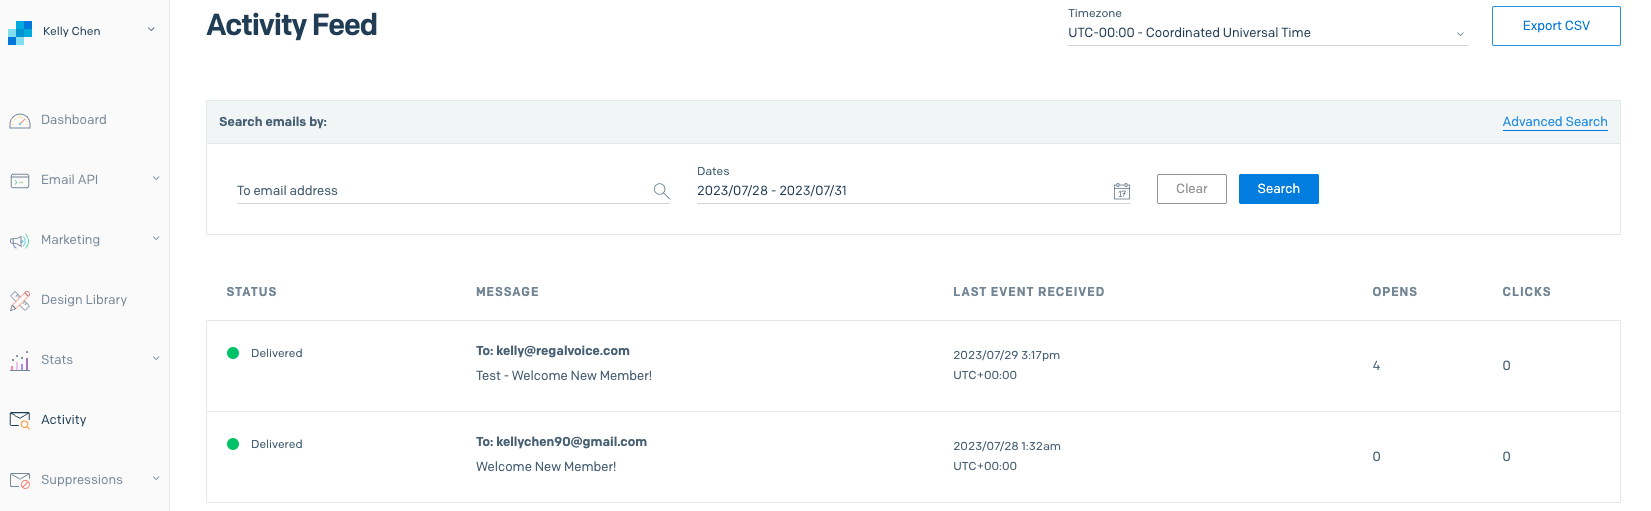
The Journey will trigger a request to email the specified contact in SendGrid using the specified template. You should see the history in the Activities section in SendGrid.
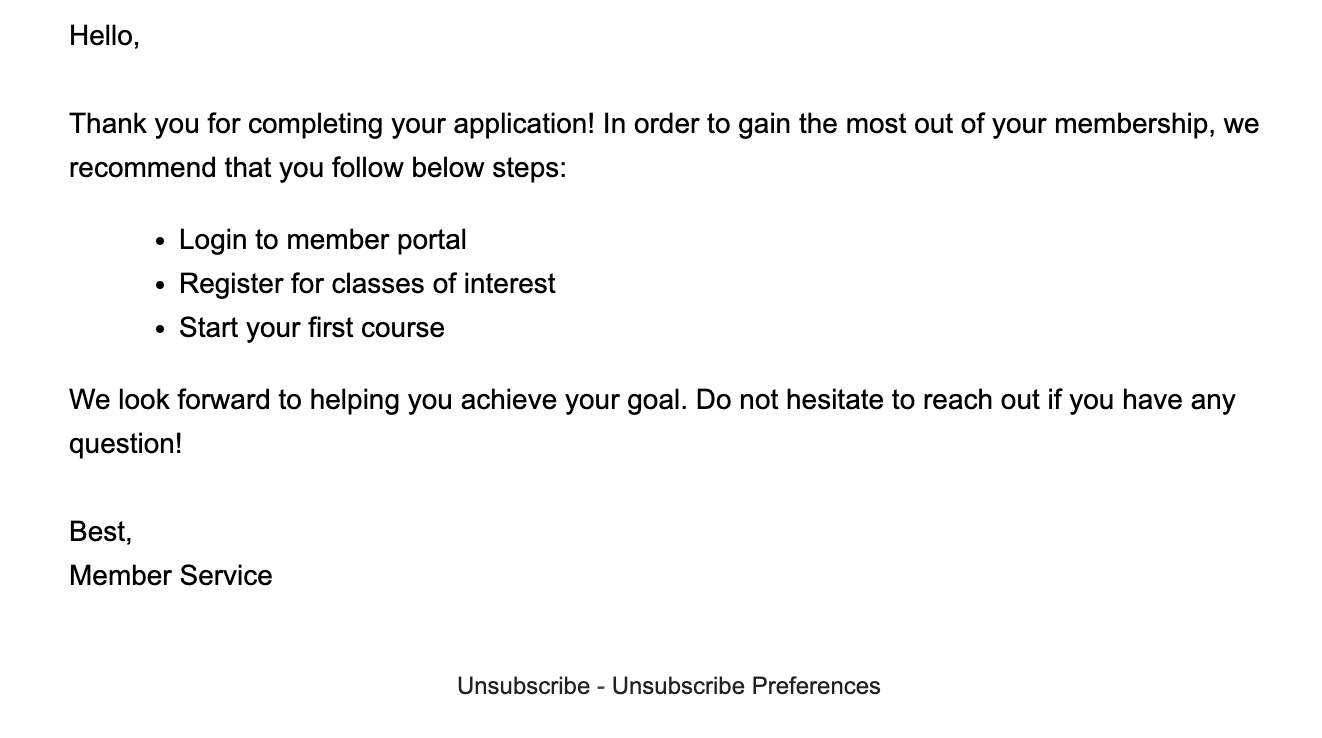
Here is a preview of what the resulting email looks like in our example.
Email [email protected] if you need any support in setting up this integration.
Updated 6 months ago