Okta SSO
Enable IdP SAML SSO through Okta
This guide describes how to set up the Regal Okta app in order to enable SAML SSO.
Supported Features
- IdP-initiated SSO: Allow your organization's user to login to Regal through their Okta dashboard.
Prerequisites
You'll need a brand slug to complete SSO setup. Email [email protected] to receive this.
Requirements
Install Regal App in Okta
The first step to enabling SAML SSO and SCIM is installing the Regal app through the Okta Integration Network.
Step 1: Log in to your Okta organization.
Step 2: In the admin dashboard, navigate to Applications > Applications, click Browse App Catalog, and search for Regal.
Step 3: Click Add to add the Regal app to your Okta organization.
Configure SAML SSO for Regal
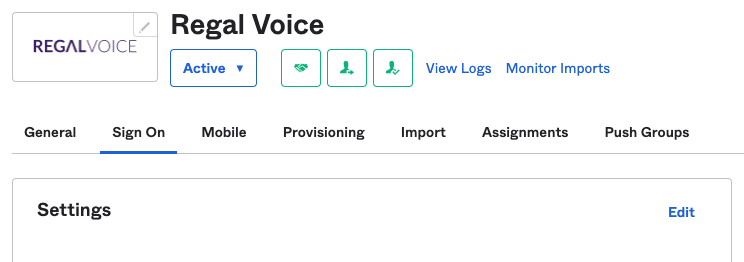
Step 4: Navigate to Sign On and click Edit.

Regal Application
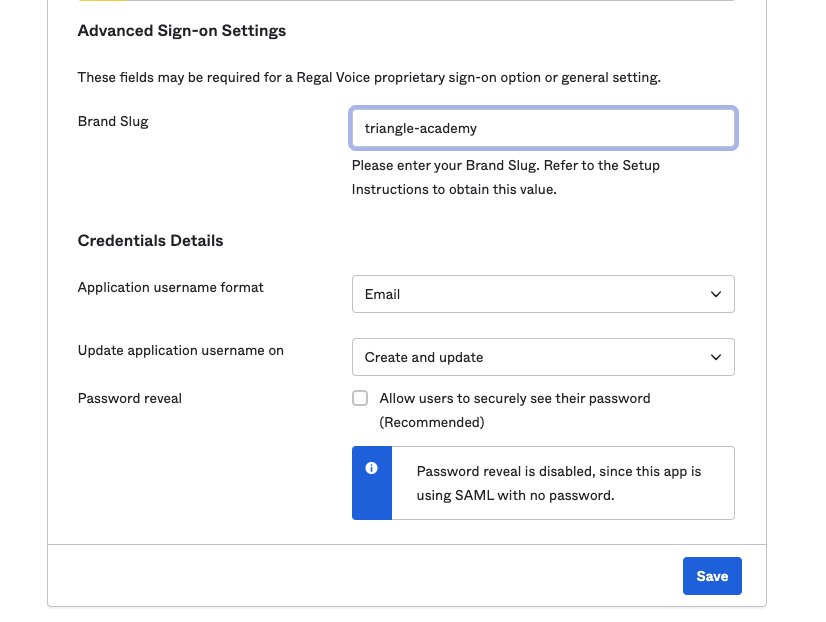
Step 5: Enter the Brand Slug provided by Regal.
Step 6: Set Application username format to Email.
Step 7: Click Save.

Configuring SSO Settings
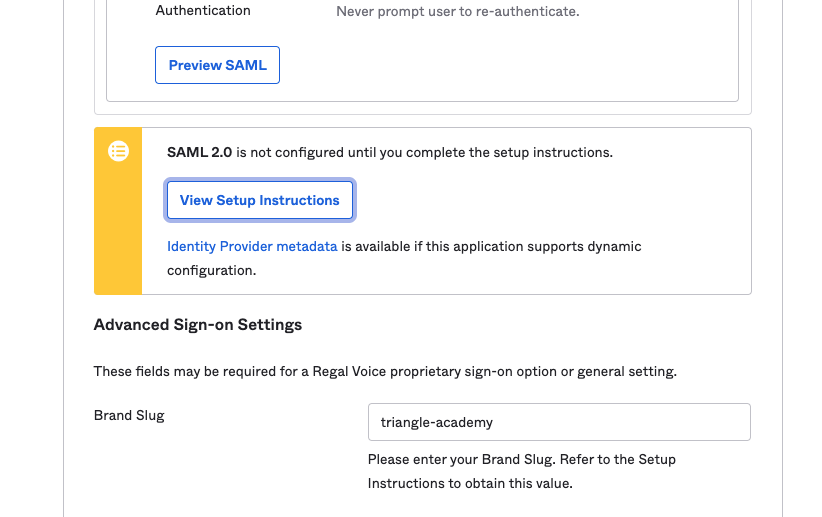
Step 8: Click View Setup Instructions.

Viewing Setup Instructions
Step 9: Regal requires some of the information on this page to complete the SAML setup. Please send the following values to your Customer Success Manager or [email protected]:
- IDP Issuer/Entity ID
- Login URL/SignOn URL
- x.509 Certificate (PEM Text Format)
Regal will confirm when the setup has been completed after receiving these values.
Updated almost 2 years ago
